

How To Remove Casement Window From Frame
Casement windows have a design that uses a crank handle to open and shut the windows instead of sliding them, which helps make them less drafty and more attractive. However, like annihilation that moves, information technology tends to break down from time to time, requiring repairs. If your window needs fixing, but you aren't sure where to start, we're hither to aid. Keep reading for a footstep-by-pace guide to replacing your casement windows and getting them to piece of work like new.

Replacing a Casement Window
Getting Prepared
To supervene upon a casement window, y'all will demand to remove the molding around the window within and out. You may likewise need to remove shingles or siding to gain access to the frame, which is a little beyond the scope of this article, so nosotros recommend hiring a professional if you don't accept experience with shingles or siding. However, many repairs won't require these extra steps.
Go Your Tools Together
We recommend that you gather your tools before you brainstorm your projection, so you don't need to make any unexpected stops to run for supplies. One time y'all get started, you will have a big hole in your home or garage until you finish, and so information technology's better to take the time to plan. Here is what you volition need:
- Record measure
- Hammer
- Putty pocketknife
- Pry bar
- Wood glue
- True cat'south paw nail puller
- Level
- Wood wedges
- Water seal gasket
- 5-inch galvanized roofing nails
- Finishing nails
- Replacement window
The 12 Steps to Supplant Casement Windows
i. Mensurate the Window
The first matter that you lot will need to practice when you determine to replace your casement window is to measure it to go the correct-sized replacement. Measure the height and width of the glass part of the window several times until you become a matching number, and then yous know that you've measured correctly, and write down the numbers. Some casement windows will have a model number etched into them, which will make it easier to order replacements. Attempt to gild the same make if possible, and use the numbers you've written downwardly if you tin't.

2. Remove the Trim
In one case your replacement window arrives and you inspect it to make sure it's similar to the 1 currently installed, information technology'due south time to remove the molding around the window on the inside of your dwelling using a putty knife and a hammer. If yous are conscientious and don't try to piece of work too quickly, you should be able to get the molding off without breaking it, and y'all should exist able to reuse information technology. If you lot get a small scissure, yous might be able to repair information technology with forest gum, but you'll need to supersede it if at that place is too much damage. One time the molding starts to lift abroad from the wall, a pocket-size crowbar may exist able to help you remove it more chop-chop.
3. Remove Extension Jams
Next, you will demand to remove the extension jams that fill up the space between the window frames and the molding. Like the molding, these boards might be somewhat delicate and are held in identify by just a few finishing nails, and so it shouldn't be likewise hard to remove them the same way as the molding.
4. Pull Out the Roofing Nails Holding the Window Flange
Side by side, we will need to move outside to remove the roofing nails through the flange holding the window in place. If you have siding or shingles covering the window flange, you must remove them to expose the nails. We recommend using a hammer, along with a cat's mitt, to take hold of the nails so they will come out easily, as there are typically quite a few effectually the flange. Get out the pinnacle centre nail until last to prevent the window from falling out while you lot are working.
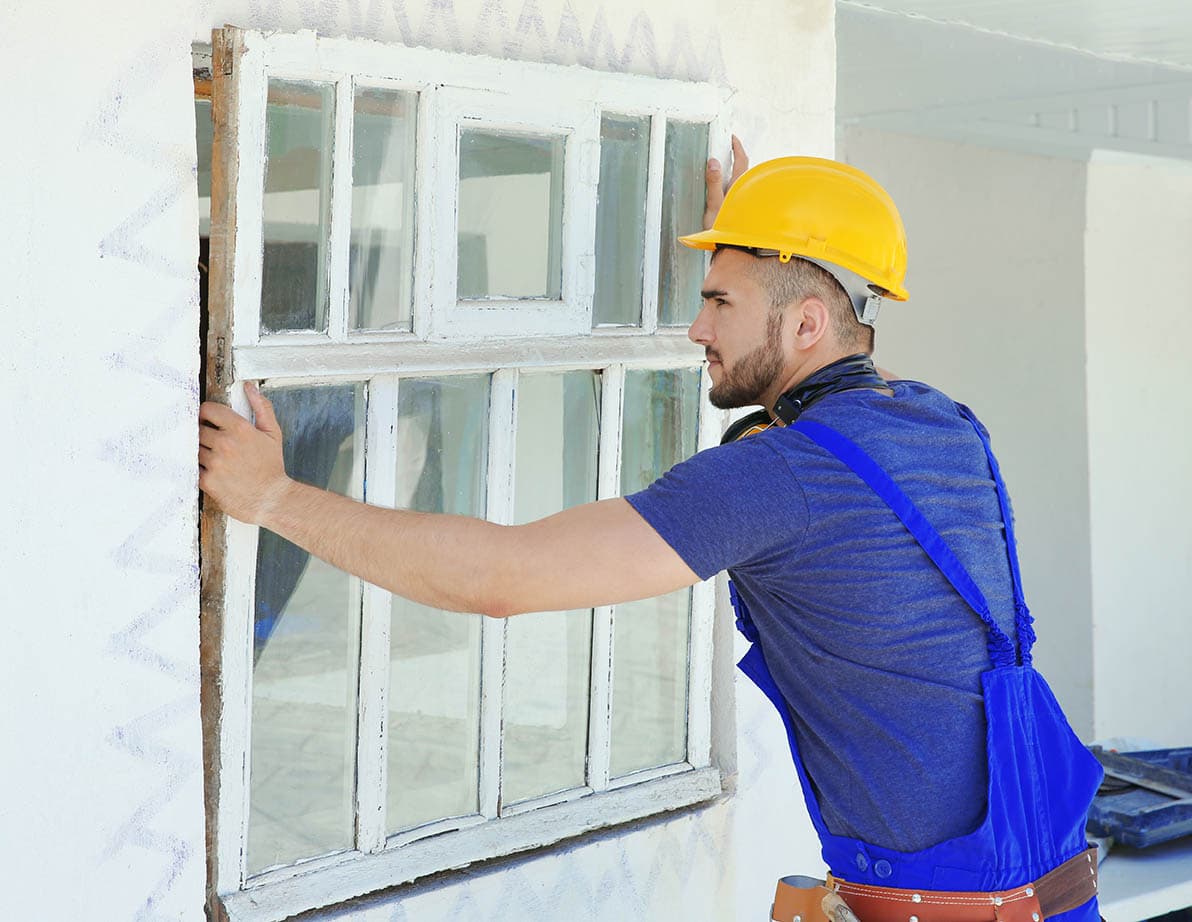
5. Remove the Window
The window should come out easily with all the roofing nails removed from the flange. However, nosotros recommend getting a helper as some windows can exist quite heavy. Fix the window bated to keep working once it is free of the house.
6. Ready the Frame
Side by side, check that the new widow fits correctly. Set up that aside, and check your frame to brand sure it's level. There is a good chance that information technology is because information technology already had a window in it, but yous tin can add wooden wedges to make information technology direct if information technology isn't.
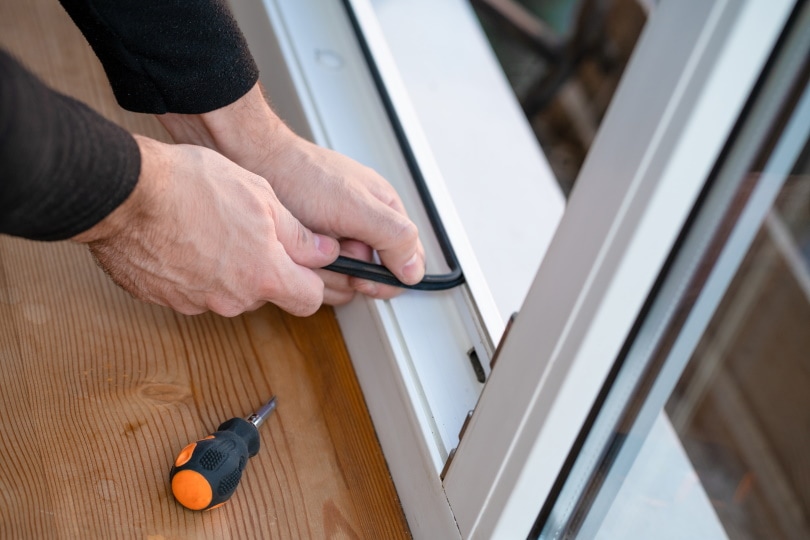
7. Apply a Water Seal Gasket
Now you will need to apply a water seal gasket on the outside of the firm. It needs to run along the frame at the lesser and sides of the window. You will also place a piece on the bottom of the frame over the windowsill. This gasket will foreclose moisture from entering your abode, which can compromise your energy efficiency and cause deterioration of the frame.

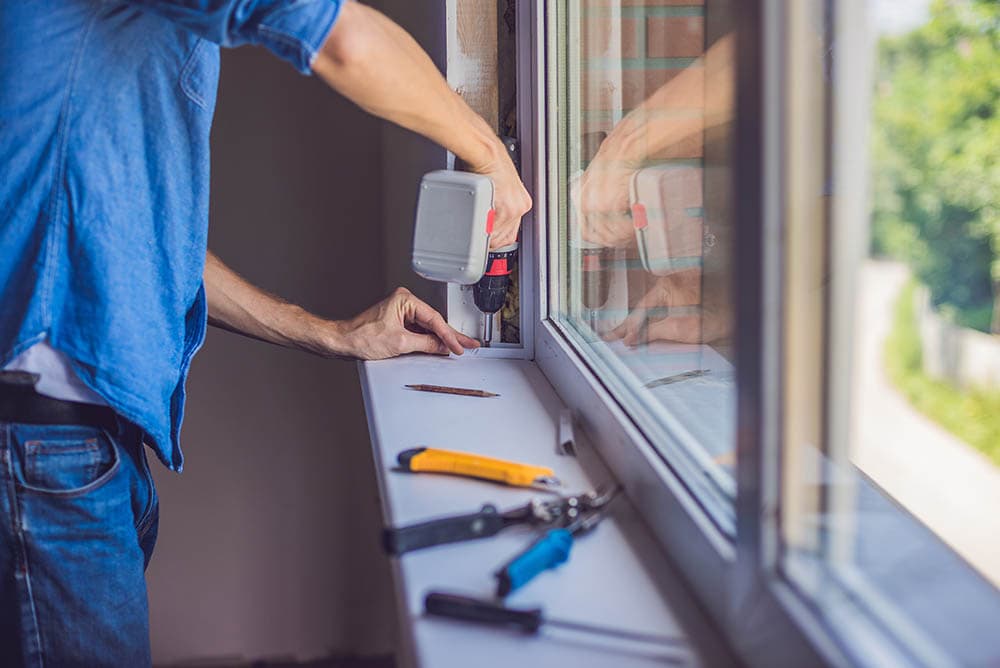
eight. Install the New Window
Now information technology'due south fourth dimension to put the new window in place. Check information technology i more time to make sure it'due south level, and make any adjustments before you begin to hammer the roofing nails into the flange of your new window. Start by hammering in the height heart nail to keep the window stable while you complete your work. Then, install a roofing nail through the heart of every other hole in the flange around your new window.
9. Identify a Strip of Water Seal Gasket Over the Tiptop of the Flange
Afterwards all the nails are in identify, you will need to add a strip of water seal gasket over the top of the flange to help keep out moisture and to forbid rain from leaking behind the flange and entering the business firm.

10. Replace the Extension Jams
Inside the home, information technology'due south fourth dimension to supervene upon the extension jams to fill in the area between the window frame and the molding. Hopefully, you were able to remove them without causing any damage, and y'all can quickly hammer them back in place. If some boards have too much damage to use again, you lot might demand to buy replacements at your local hardware shop.
11. Supersede The Molding
With the extension jambs in position, it's fourth dimension to replace the molding. Hopefully, y'all can use all of the same wood for this step. That said, we recommend replacing the finishing nails.
12. Paint
Fifty-fifty if yous tin get the molding and the extension jams off the frame without breaking them, the putty knife and prybar tin scrape and remove pigment, so you'll likely need to repaint the frame when you end installing the window to complete your project.
Related Read: How to Fix a Gap Betwixt a Window and Frame in 9 Steps
Summary
While quite a few steps are involved, it'south non that difficult to alter a casement window if you take your fourth dimension and don't try to blitz through information technology. The molding and extension jams are especially troublesome because they tin can be difficult to replace and are like shooting fish in a barrel to interruption. The water seal gasket helps prevent moisture from creeping behind the flange, which can crusade premature failure in the window and other harm to your home.
Featured Image Credit: Andrew Angelov, Shutterstock
Contents
- 1 Replacing a Casement Window
- i.ane Getting Prepared
- 1.2 Get Your Tools Together
- 2 The 12 Steps to Replace Casement Windows
- 2.1 1. Mensurate the Window
- 2.2 ii. Remove the Trim
- ii.3 3. Remove Extension Jams
- 2.4 iv. Pull Out the Roofing Nails Belongings the Window Flange
- two.five v. Remove the Window
- ii.6 vi. Prepare the Frame
- 2.7 7. Apply a Water Seal Gasket
- 2.8 8. Install the New Window
- two.9 9. Place a Strip of Water Seal Gasket Over the Tiptop of the Flange
- 2.x x. Replace the Extension Jams
- 2.11 11. Replace The Molding
- ii.12 12. Paint
- 3 Summary
Source: https://housegrail.com/how-to-replace-casement-windows/
Posted by: rodriguezuntentoody.blogspot.com
0 Response to "How To Remove Casement Window From Frame"
Post a Comment